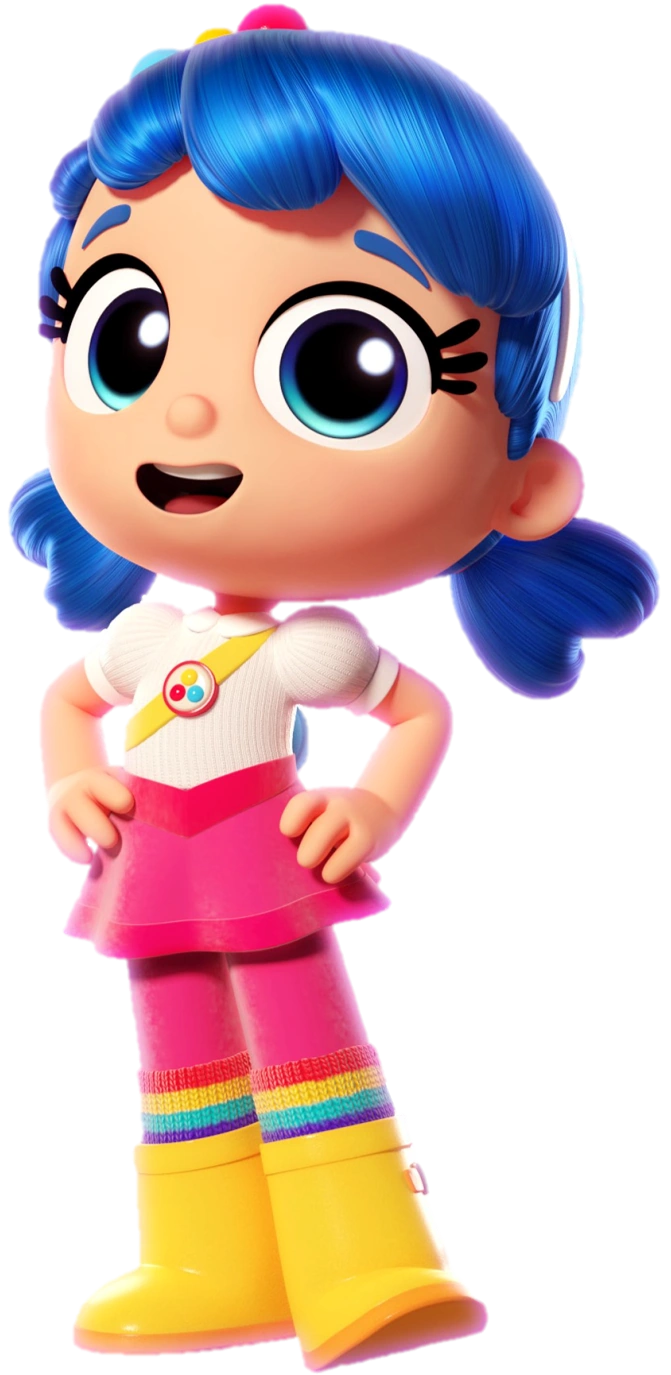
Anyone else’s kids love True and the Rainbow Kingdom?
I put together this easy True costume and Wonderful Wishes Play Area for my three-year-old in two afternoons, and it was such a hit.

Disclosure: We use sponsored, or affiliate, links, which means that we could earn a small commission that helps fund our blog (at no extra cost to you!). All opinions are our own and we only recommend products we love. Thank you for your support and happy shopping!
Putting Together True’s Costume
True’s look is basically a white shirt with Peter Pan collar, hot pink skirt and leggings, rainbow knee socks, and yellow boots. She also has a red, yellow, and blue “wish pack” and matching headband.
Oh, and she has blue hair.

Two years in a row, we’ve done costumes made with actual kid’s clothes that can be worn again and again and just added a few accessories to make the character recognizable.
The skirt for True’s costume is actually the skirt we used for Elena’s Doc McStuffins costume last year.
Elena seems to really like shows where the main character wears a pink skirt.
I bought pink leggings that matched the skirt, rainbow socks (didn’t come in time for the pics), and a long sleeve white shirt because Halloween is always freezing cold in Indiana.
I could’ve bought yellow boots, and yellow rain boots are really easy to find, but Elena already has perfectly good sparkly light-up boots that she loves.
She didn’t ask about the boots, and I was perfectly happy to ignore that part of the costume!
How to Make True’s Headband
There’s a lot of different ways to make True’s headband. It’s just a white headband with a red and light blue ball on top and a smaller yellow ball in between them.
I decided to make my own yarn pom poms to glue on top of a white headband we already had.

To make pom poms, just wrap yarn around your index and middle fingers a bunch of times. Then tie a piece of yarn around the middle and cut the loops. Shape it into a ball by cutting off excess yarn.
Ta da!
Looking back at it, I’m not sure why I decided to go big with the pom poms. I had a lot of yarn and it’s fun to go oversized on little girl hair accessories.
You can make your pom poms any size you want.
Or just buy pom poms. That would probably be easiest.
How to Make True’s Wish Pack
True’s wish pack is the little backpack thing she wears to hold her three wishes.

I thought about making a light-up wish pack or even one that could actually hold wishes, but in the end I decided to go with something inexpensive, simple, and easy for Elena to put on and take off whenever she wanted.
The steps look long, but it’s really just a lot of tracing, cutting out, and gluing things together.
Supplies needed:
- cardboard
- red, blue, yellow, and white felt (one 8×10 sheet in each color was more than enough)
- yellow ribbon (could use yellow felt, if you sew it into a long strip)
- hot glue
I sketched out a backpack design on paper first, and then cut it out.

These cut outs make a perfect stencil to trace on the felt. I traced a large bottle cap for the white circles.
Next, I hot glued the red, blue, and yellow felt onto a piece of cardboard and cut that out. I traced the wish pack onto a second piece of cardboard and cut it out.
A long piece of yellow ribbon got hot glued in between the plain cardboard and the felt-covered cardboard.
Lastly, I made the circle badge that goes on the front of True’s outfit. I just traced the same large bottle cap on red felt and traced a smaller bottle cap on white felt and cut those out.

Next, I sketched a small circle on the red, blue, and yellow felt, cut those circles out, and glued them onto the large white felt circle. Then I glued the white circle to the red circle.
I traced the red felt circle on a piece of cardboard and cut it out. Then I sandwiched the yellow ribbon used for the backpack strap between the red felt and the cardboard and hot glued them together.
See? I told you it was a lot of tracing and cutting out!
How to Make a Wonderful Wishes Play Area
We have a ball pit in our basement. What? Don’t you?
Anyway, the yellow balls were the perfect size to make wishes. (I know there are individual wishes that have names and personalities, but those looked too hard to make, so I stuck with the generic yellow wishes. Sorry (not sorry) to disappoint.)
Making wishes is easy. Draw black eyes and a red smile on your yellow ball with permanent marker. Now do that again about 20 times.

Ok, are you finished making the wishes? That didn’t take too long, did it?
To hang the wishes on the wall, I cut five sheets of green construction paper into strips (4 strips per sheet).
Next, I taped the construction paper to the wall, hammock-style.

This works because the plastic balls are so incredibly light. But, be warned, a light breeze will knock those wishes off the wall, so keep them away from any air vents and fans.
If you fold the back corners in a little, it’ll angle the hammock down toward the wall enough so the balls don’t roll off immediately.

There it is.
The Wonderful Wishes Play Area.
